When you first access your Pure Workflow account, it will be a blank slate, waiting for you to fill in company data, clients, tasks, etc. Your account opens to your Work tab, where the default list is your To-do tasks. This list contains one starter task named “Welcome to Pure Workflow - start exploring here.”

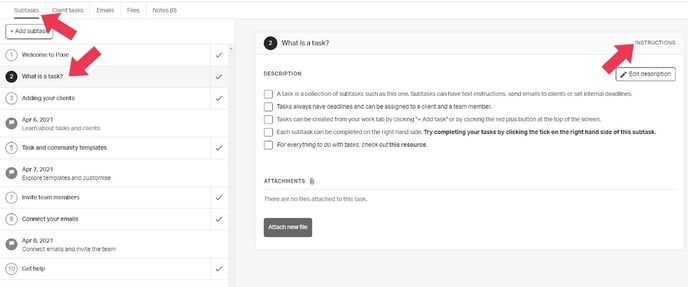
This starter task is a task template, which contains several sub-tasks. Click the task to see its details.
Tasks can consist of subtasks, client tasks, emails, files, and notes. Since you have no clients or emails yet in Pure Workflow, this task has only subtasks - 10 of them, to be exact. Highlight any subtask to see its details, including its type. For example, Subtask 2 is a set of instructions.

Other subtask types can be emails (automated or manual) and internal deadlines.
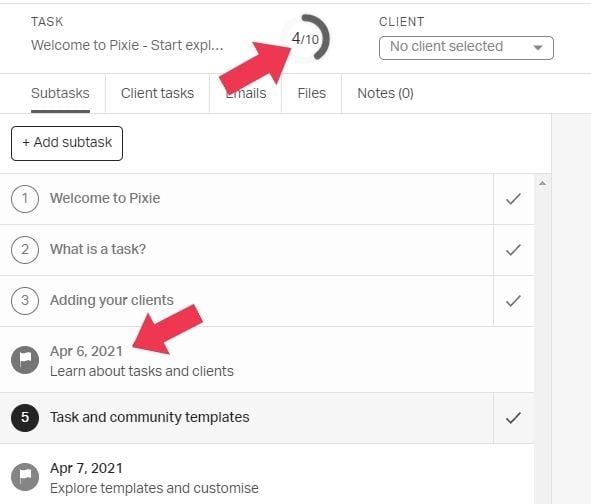
Subtasks marked with a flag icon are internal deadlines, and indicate the date by which the subtasks above are to be completed.

The order of subtasks follows the logical progression of how you’ll be setting up your Pure Workflow account: learning about tasks, adding clients, adding team members, and connecting emails.
As you proceed through the instruction subtasks, you can tick each instruction to cross it off your list.

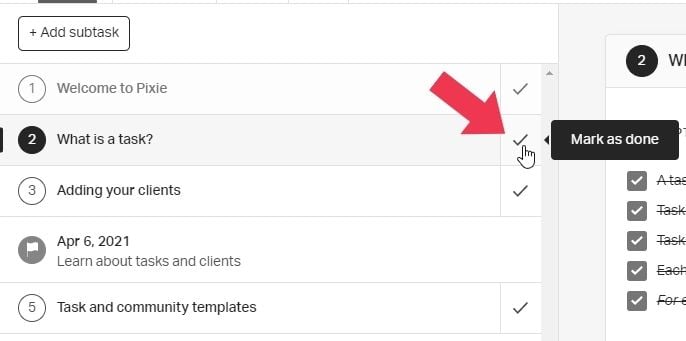
Each subtask can be marked as complete as you proceed through the list.

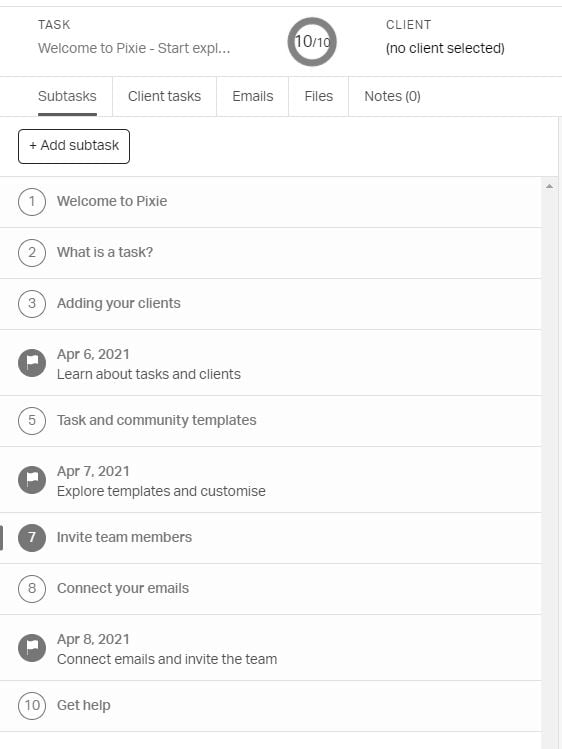
When each subtask due by a deadline has been marked as complete, the deadline itself is also marked as complete. You can also track your subtask progress at the top of the list.

Read through all subtasks, tick all instructions, and mark each subtask as complete.

When you return to the Work tab, the subtask no longer appears in your To do list.

Because the subtask is complete, it now appears in the Done tab, along with its completion date.

This is a quick overview of how tasks work, but there is more work to do! Before creating your own tasks, you’ll first want to set up your clients, build up your team, and integrate your emails. And, if you’re a workspace admin, you’ll also want to explore the Settings.
